
Completing a high-quality design job according to a client’s need is no easy task, and most designers know that structuring your approach is hugely important for effective time management.
The 7 Steps of a Professional Design Process, but a few key phases, like research or revisions, should always be part of your timeline.
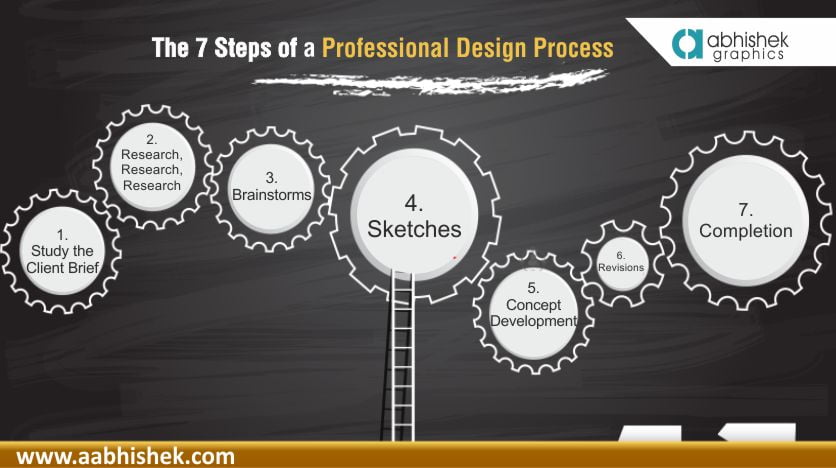
Here are the 7 steps most design projects will have to pass through to get from the initial client briefing to a successful design
1.Study the Client Brief
- Set goals and context from the brief – the brief is the blue print that leads you to the final design. Ask as many questions as you can now, to make sure you start off on the right path.
- Highlight key points: what’s the message trying to be conveyed, and through what means (e.g. taglines, photography…)? Having these points handy will make sure you don’t wander off track along the way.
- A thorough design brief acts as a reference point for both you and the client, making sure everybody is on the same page. Keep it close throughout the entire process.
2.Research, Research, Research
- Research as much as you have time to, to make sure you understand the project as fully as you can. Initial research areas should always include the client’s company history and culture, the local (and possibly international) competitor landscape, and any industry-related trends. There’s nothing worse than creating a stunning design that gets rejected because it looks the same as your company’s main competitor.
- Next, you need to analyse your project’s target audience, or demographics – the age, gender, income, employment, location and lifestyle of the people the client wants to reach. Knowing your audience is key to ensuring you communicate the right message.
- If you want to read more on how research affects your designs.
3.Brainstorms
- You’ve researched your brief, the client, the industry, and the audience. Now it’s time to put it all together. One way to brainstorm ideas is to use structured mind maps with ideas linked to your central concept. Others prefer to make lists, or write random ideas-gotten-in-the-shower on scrap pieces of paper or on their phone. No matter your personal preference – get those ideas flowing!
- Make sure you keep a record of all your ideas and concepts. You never know when something you initially discarded will come back as the perfect solution to all your troubles.
4.Sketches
- Sketching your ideas to define their visual elements is a good way to save time – you don’t want to spend heaps of time in Illustrator refining a concept your client turns out to hate.
- With sketches and design mock-ups, you can create a number of different approaches relatively quickly, and get a feeling for how fundamental elements such as the basic layout of a web page or the shape of your logo will work.
5.Concept Development
- Once you’ve sketched out your initial thoughts, it’s time to develop your favorite concepts a bit further. Usually it’s a good idea to develop 3-5 different concepts to give your client some choice, although that number can fluctuate depending on the project’s needs.
- Present these concepts to your client, explaining the rationale behind each one and why they will be successful. This is where all your design research will come in handy!
- Don’t think the concepts not chosen are wasted either – giving your client options often allows you to combine their favorite elements from each one. Plus, the conversation about why some are preferred over others will give you more valuable insight into your client, which will help you hit that final design out of the park.
6. Revisions
- After the client chooses one concept, it is time to revise the design so it meets the goals and outlines. The client may want you to mix and match from all concepts you have presented, or come up with something entirely new. From their suggestions you can present a second round of designs. Sometimes several rounds of changes may happen before your final design.
- Don’t be afraid to give your opinion on what looks best; after all you’re the design expert, and clients often welcome the guidance. But remember to base your suggestions on research and refer frequently back to the client brief. It is important to strike a balance between delivering a product your client is subjectively happy with, as well as one you know to be effective based on stated goals.
7.Completion
- Almost there! Your client is loving it, apart from some minor tweaks here and there. Once these are completed there is only one last step…
- Get approval!
- Send the final files – the project is complete!
There is nothing more rewarding than turning around a completed project to a satisfied client, so congratulate yourself for a job well done. And start pitching new clients, if you haven’t already weeks ago.
![]()